We Explore Other Solutions, That’s What
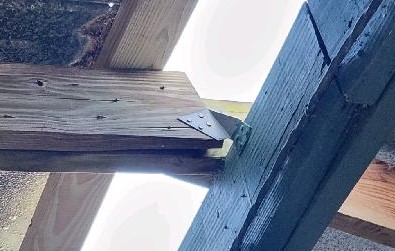
A couple of weeks ago we talked about a construction problem and what to do about it. This problem involved rafters not being attached to the ridge beam properly and a possible solution. That solution required the rafters to be long enough…which they aren’t.

So, now what do we do?
We still have the same problem of the rafters not being connected sufficiently to the ridge beam and how to fix this.
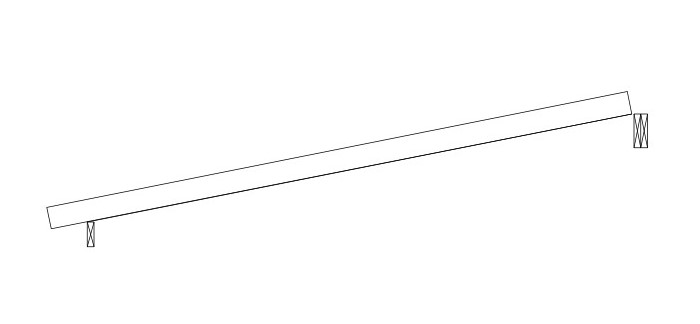
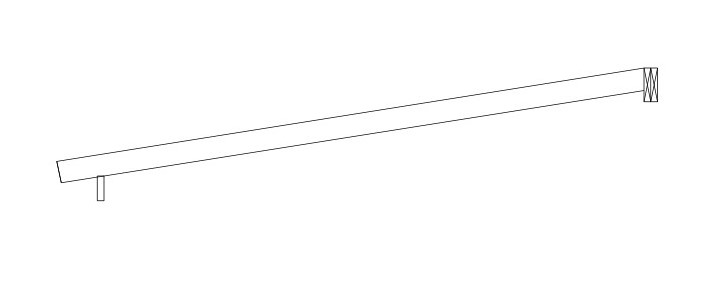
The previous plan was to take the top end of the rafters loose from the ridge beam on both sides of the roof, cut them to fit against the side of the ridge beam, drop them down and fasten them to the ridge beam.
This second option is going to require more “undoing” than the cutting and dropping of one end of the rafters would have. However, using this solution, we will not have to do any work to the half of the roof where the rafters are sitting on the ridge beam.
It’s going to require the removal of the metal roofing panels and the wood purlins from half of the roof. Anytime something is “undone” or removed it takes time that isn’t being spent on “doing”. However, as is normally the case with repairs and remodels, “undoing” is a part of the process.
Avoiding the undoing was the biggest benefit of the previous solution.
One of the issues that started the construction discussion was that there is some roofing missing from the building. It just so happens that the roofing that is missing is on the same side of the roof that needs the rafters fixed. This means that some of the “undoing” is already “undone”.
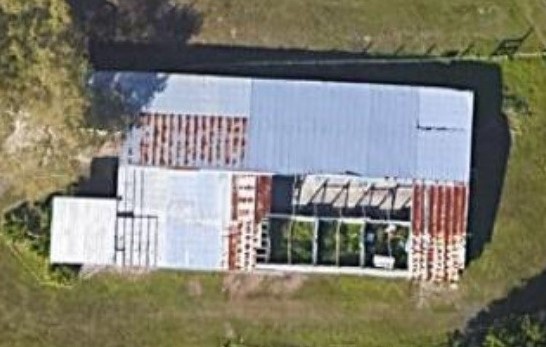
What does this new option consist of? –
- Removing the balance of the roof metal (salvage for reuse if possible) –
Remove the existing fasteners (nails or screws) from the roof metal. If they are screws with rubber washers and the washers are in good condition, the screws could be saved for reuse. If they are nails, or screws with missing or damaged washers, throw them away. If the sheets of metal are salvageable (not bent, deteriorated or having holes) save them for reuse.
- Removal of the roof purlins (salvage for reuse if possible) –
Pull the nails or remove the screws that are attaching the existing wood 2×4 purlins to the wood rafters. In the pictures, most of these purlins appear to be in good shape. As long at they are not split, broke, rotted, or too warped or bowed, salvage them to reuse.
- Removal of the existing rafters (salvage for reuse) –
Remove fasteners (nails, screws and/or carriage bolts) that are attaching the rafters to the ridge beam at the top and the posts at the bottom. Save the carriage bolts and nuts for reuse.
- Relocating the salvaged rafters –
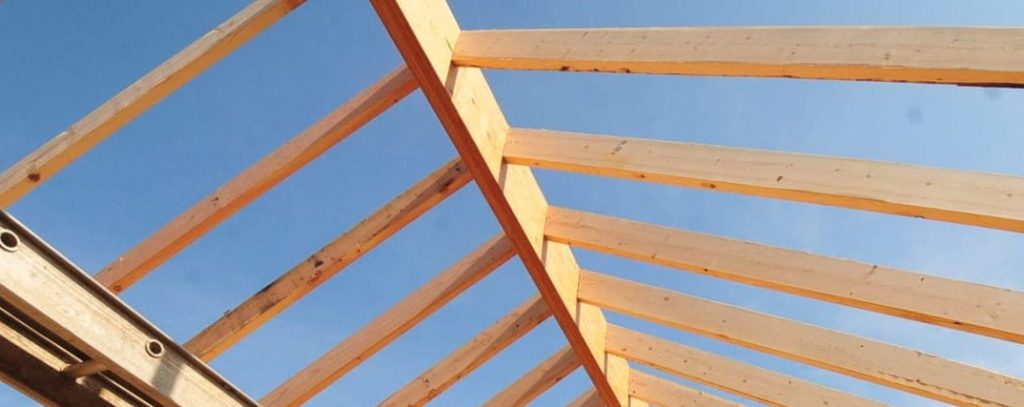
Flip the rafters end for end putting the bottom at ridge beam. This is so you can use the existing bolt hole in the post and put a new hole in the rafter. Sit the top of the rafter on the ridge beam, next to the rafters on the other side of the building. Attach the two rafters (both sides of the ridge) together and attach the moved rafter to the ridge beam. Drill a new bolt hole in the rafter at the bottom and attach it to the post.
- Install the salvaged purlins to the top of the rafters –
Attach the 2×4 wood purlins to the top of the rafters matching the previous purlin layout. This should allow for salvaged roof metal to be installed using the exiting holes from the previous fastening.
- Install roofing metal to the roof purlins –
Starting at the eave of the roof, install the first sheet of roofing metal making sure to align the corrugations with the panels on the other side of the roof. Assuming those panels are laid out correctly. Install the panels with washer headed screws to seal the holes and prevent leaks. Install the next panel above, overlapping so that rain will drain properly preventing leaks. Continue this process overlapping each new sheet over the one next to it the width of one corrugation.
- Install new ridge cap (due there not being any existing) –
The ridge cap will lay over the ridge of the building and be screwed to the corrugations of the roof panels on both sides of the ridge with washer headed metal to metal screws.
One additional thing that may need to be done with this solution is to add some additional support posts under the ridge beam. This is due to the rafters sitting on top of the ridge rather than being attached to the side of it. To determine if and how many post would be needed, we need to look at the code book and determine the current spans.

As it is with any construction project, there are numerous options. The important thing is to look at them and determine which one best fulfills your needs.


