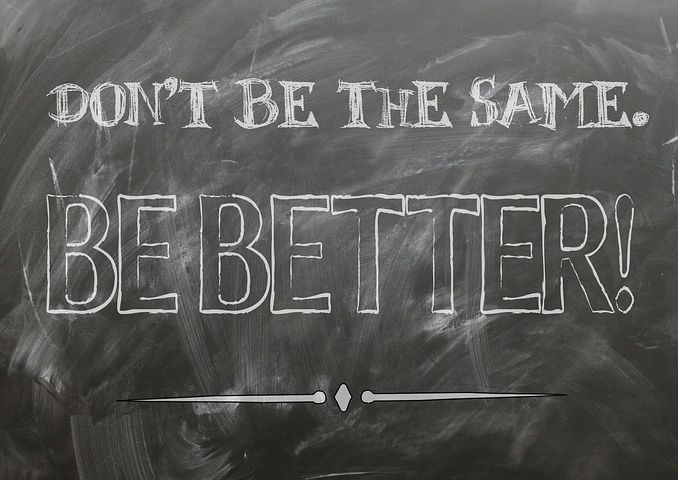
That’s Okay…I Think They Want to Know Too
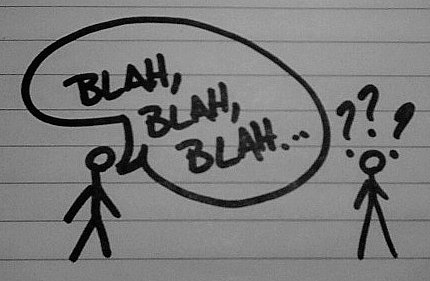
Last week I wrote about making construction proposals better. I shared some of the problems caused when communication with customers isn’t clear. As a business owner you are the professional and it’s your responsibility to provide clear communication.

A professional is one who is engaged in or suitable for a specific profession; is engaged in a given activity as a source of livelihood or career; having or showing great skill, an expert.
If you’re in the business of construction and aren’t providing your customers with a clear description of the work you are going to do, including an accurate and set price, then you are operating as an amateur. Someone who engages in an occupation on an unpaid basis; someone who is incompetent or inept at a particular activity.
A professional takes their occupation more seriously than an amateur.
If a construction company strives to be professional, why would they not provide their customers with a thorough and accurate proposal? I think there are four main reasons for this.

Don’t have enough time – It takes more time to prepare a detailed written proposal than scratching out a few numbers quickly. People in the construction industry are already so busy they struggle to keep up. Having limited time to get the physical work done, it’s hard to spend any preparing proposals. The problem is, without an accurate proposal that communicates clearly, the chances of losing money increases.
Spending the time in the beginning will pay dividends in the end.

Don’t like doing paperwork – I started doing construction because I loved to build, to see something that I built with my own hands. This is how most people in construction feel. They learned the trade and like it. The problem is that no one ever taught them business operations. Doing paperwork doesn’t feel like construction. They don’t get the same rewarding feeling as they do from building something.
Without accurate paperwork building becomes a hobby.

No one ever taught me – It’s hard to know how to do something if you’ve never been shown how. When you learned your trade, you didn’t start out knowing how. You learned it over time with someone showing you or through trial and error. Either way the learning process took time. The important thing to remember is, the more tips and tricks you were shown the quicker you learned. Aren’t you glad that someone taught you the trade?
It’s never to late to learn something new.

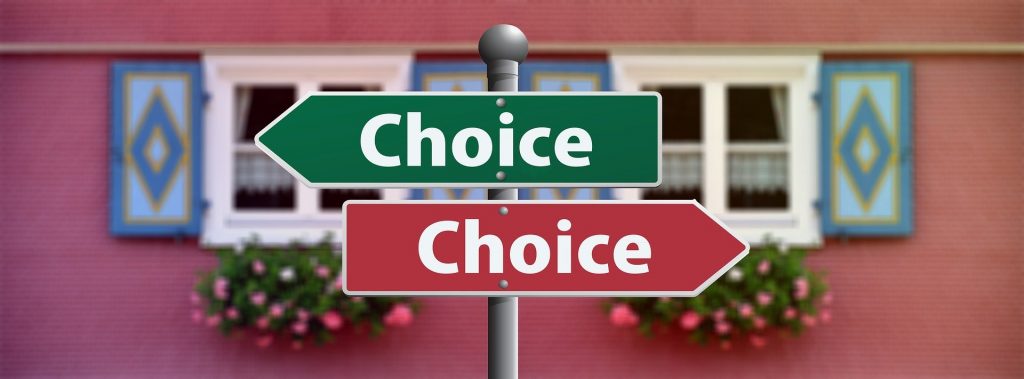
This is the way we’ve always done it – The older we get, the less we like change and contractors are among the worst. You’ve figured out something that works, or at least seems to, why change. Just because what you’re currently doing seems to work…it doesn’t mean that there isn’t something better. If you hadn’t gone through the process of falling down and getting up, falling down and getting up, you would still be crawling.
Aren’t you glad you tried something different?
What if I told you –
- The time you spend doing proposals will provide you peace of mind and more consistent revenue.
- You don’t have to do paperwork if you hate it.
- I can teach you how to do proposals just like you learned your trade.
- Change is the only way you will stop crawling.

Doing proposals before you’re ready feels like trying to run a marathon when all you know is how to crawl.
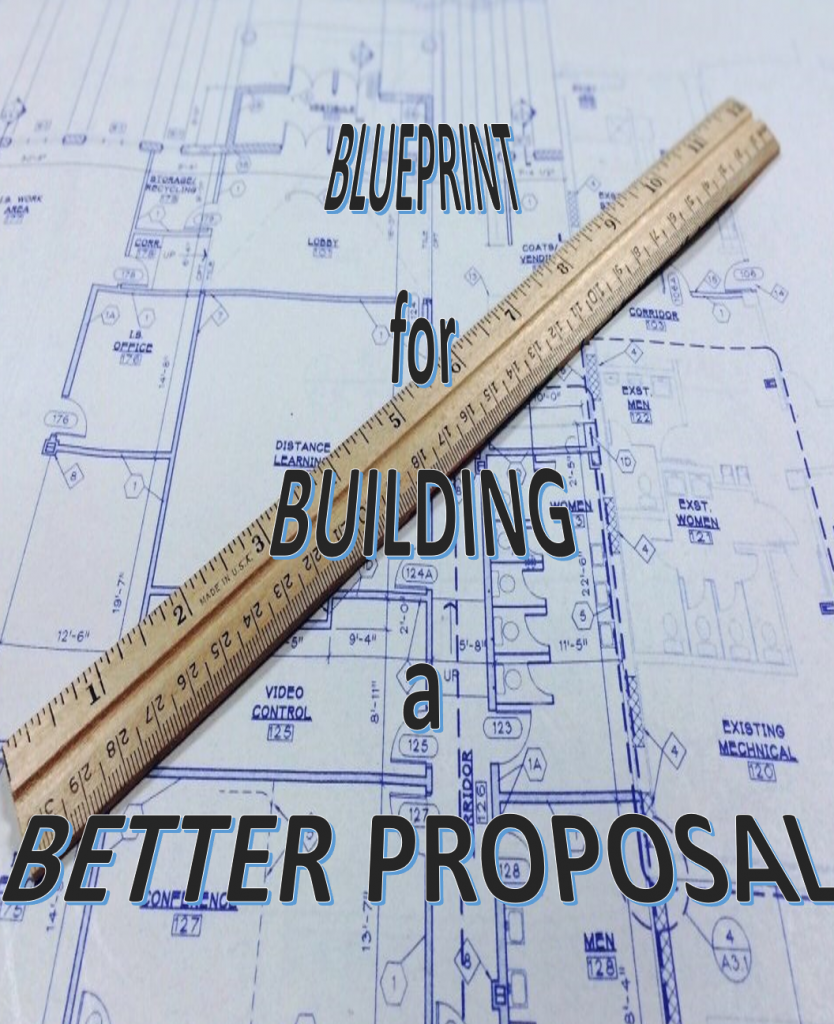
Communicating clearly through proposals is the act of a professional. If you want to learn how to do professional proposals, check out our Blueprint for Building a Better Proposal.
If you have other reasons that you or someone you know doesn’t do proposals, let us know in the comments below.