Every Minute of Every Day We Make One Decision After Another


It’s Like Playing A Non-Stop Game of Would You Rather

Most everyone is familiar with the game “Would You Rather.” This is a game in which the players are asked questions that compare two different scenarios and are asked to choose which of the two they would rather do. These questions can vary from simple to the complicated.


Would you rather…

  • Spend a day in the Sahara Desert or Spend a day at the North Pole


  • Have the ability to fly or Be invisible
  • End hunger or End hatred


This game isn’t any different than everyday life. We are faced with choices every minute of every day. Some of these choices are small and simple, some are important and carry major consequences.


Would I rather…

  • Eat this or Eat that
  • Wear this or Wear that
  • Drive this route or Drive that route
  • Go in debt to buy a new car or Save my money and drive something older
  • Take this job that pays well but requires me to sacrifice my morals or Take that job that pays considerably less but allows me to be true to my principles


This past week an either-or situation was in the forefront of my decision making and was a part of multiple conversations.


I was faced with a situation of needing to keep a construction project moving forward or doing proposals that customers were eagerly waiting for. Not to mention all the other everyday business responsibilities of running a company.


The construction project was behind schedule due to weather delays and next week’s forecast showed the possibility of more rain. The subcontractor was behind on other projects of his own due to the weather. The sub said he could get there but was going to be shorthanded.


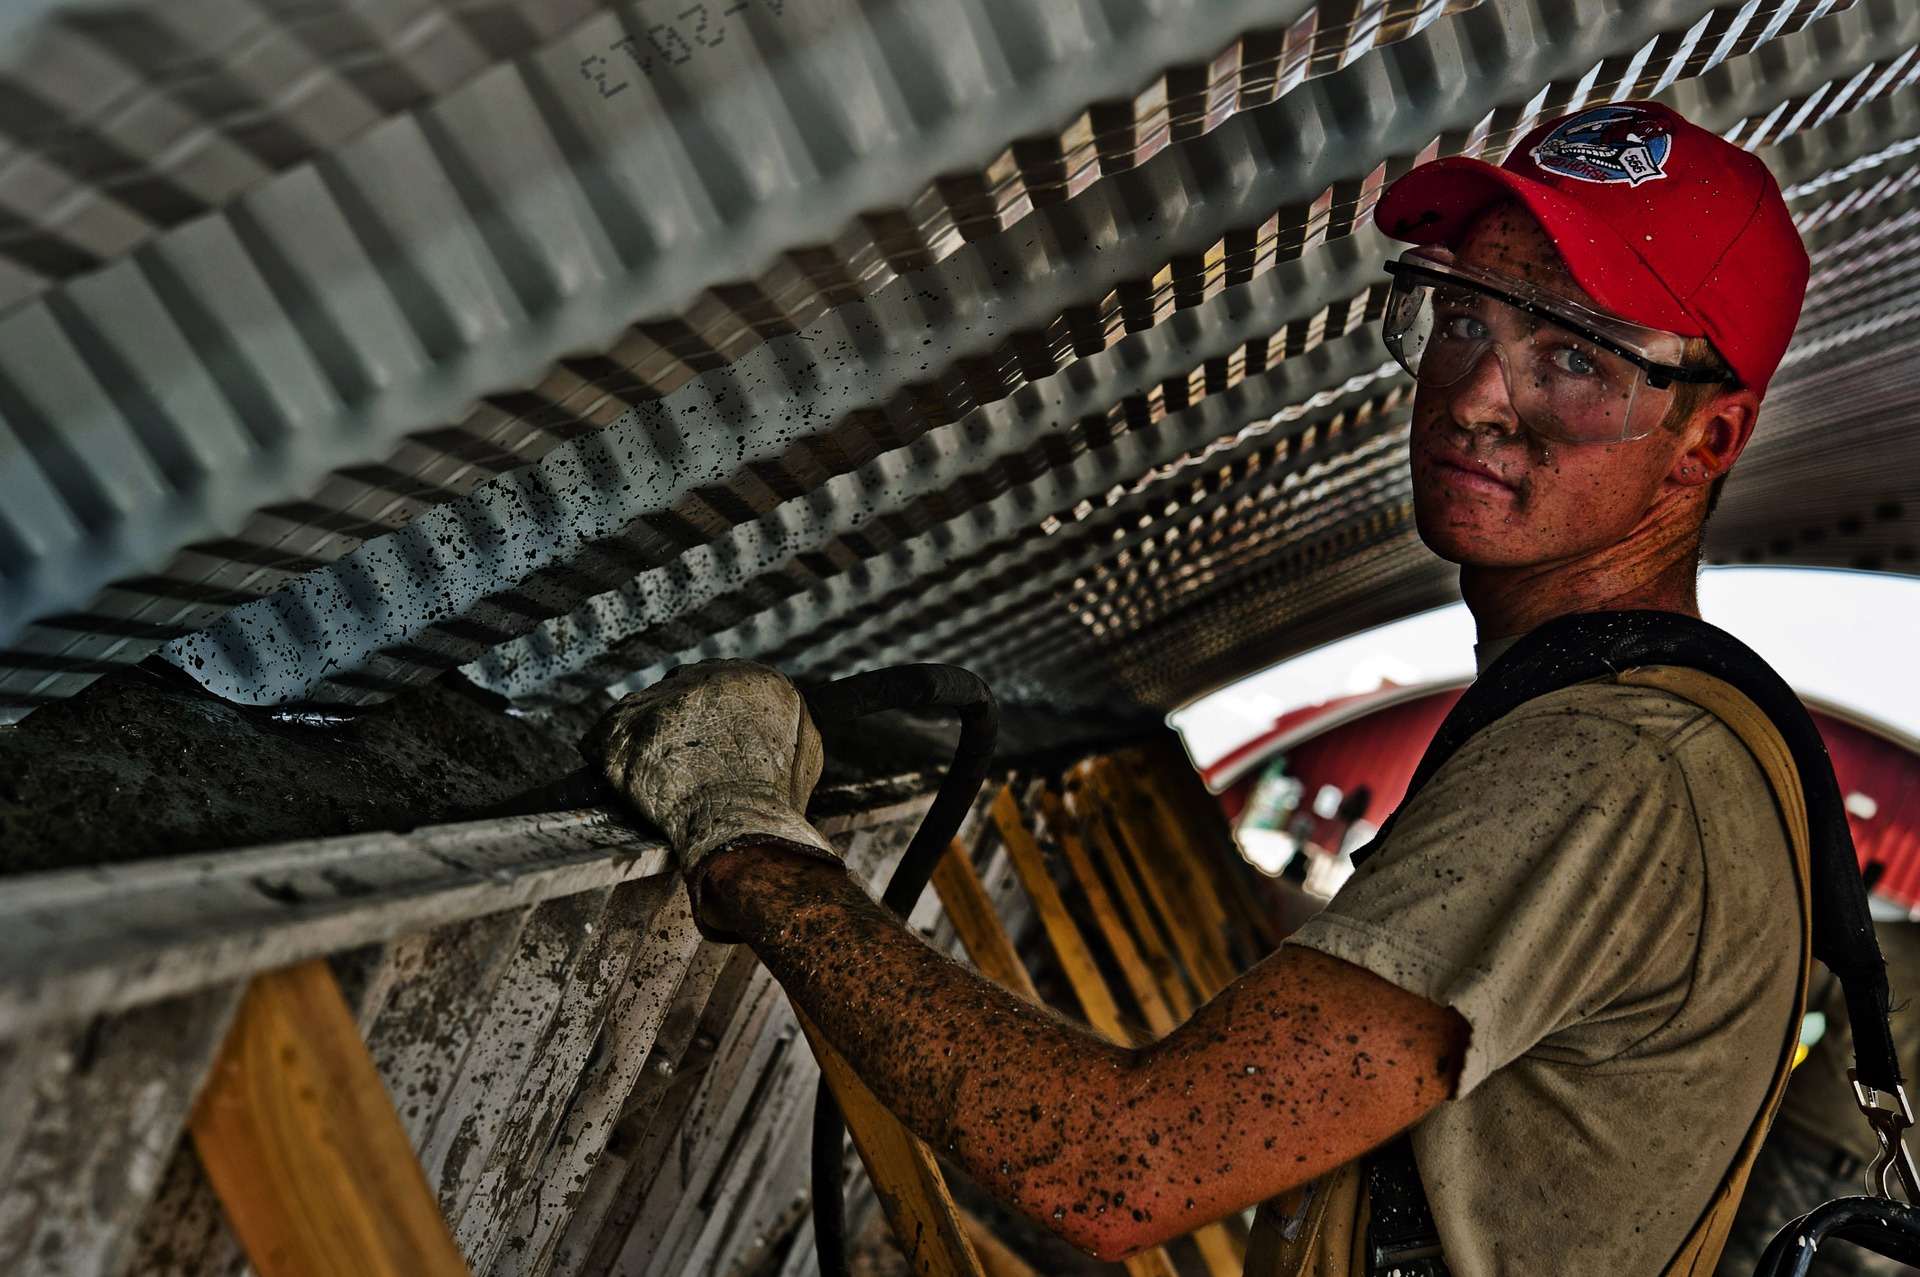
The “would you rather” question arose for me when he jokingly suggested I come on site and help. I could dust off my tool belt and go spend a couple of days swinging a hammer or I could work on the things I had already scheduled to do.


The sub was surprised when I showed up with my tool belt on.


Was it the right decision? I think so, other than being a little sore after framing for a couple of days, we moved the project forward and this was important.


Every day we are confronted with hundreds of these choices some big and some small. It’s easy for some of us to spend more time than we should when making decisions, we want to make the best ones. Sometimes when spending too much time trying to make the right one, we have inadvertently made the wrong one.


Little decisions shouldn’t require too much contemplation. Bigger more important ones are a different story. The important thing is to know yourself. Know what you need to make the best decision possible and have those tools in place when you make that next big decision.


One of the best toolboxes I have found for being prepared to make decisions is Andy Andrews’ book “The Traveler’s Gift. In this book Andy gives seven life principles that successful people throughout history implemented at times when they were making crucial decisions.


Would you rather…
Know how to make better decisions? or Guess at making decisions and take a chance?


The Land of “What If” or the Land of “What Is”


Which One Have You Been Living In?


If you don’t like where you’re living, you can move.


Moving is not much fun. It takes a lot of work to pack up your life, along with all the stuff you’ve accumulated over the years. The end destination can be worth the work, if you’re moving to the right place.


How do we know where the right place to live is?


The definitions of, if and is, are a good place to start. Meriam-Webster defines if as follows; 1. in the event that, 2. allowing that, 3. on the assumption that, 4. on condition that. These statements leave things open ended and uncertain. Asking these questions can help us find answers and direction, but don’t involve the physical act of moving.


The important thing is to not get stuck in the land of “What If”.


On the other hand, is, is defined with one word – be. Being is a real tangible existing thing. The first example Meriam-Webster gives is, God is love. God lives in the land of “What Is”. God is…


Some people who live in the land of What If see all the possibilities out on the horizon. Some see all of the negative things that could go wrong. Others see this as a big land of exciting adventures. This dream world can be a great place to live. The problem is that in the land of What If, nothing ever becomes What Is.


Pastor Lee told a story of a boy in the hospital after being diagnosed with Leukemia. As would be expected he was down and depressed. He was asking all the questions that would normally be asked. He couldn’t see any future, he was living in the negative land of What If.


When he received some flowers from his aunt, he noticed there were two cards. The first was the normal well wishing from his aunt. The other one was from the salesclerk at the flower shop, it shared her own struggle with the disease years earlier. This card changed his perspective and made a more immediate difference than any of the medical treatments.


Jesus came to earth as a human. He has felt our pain and knows what it’s like. In Revelation 7:9-17 we get a view of What Is. It is a land of plenty, where we won’t be hungry or thirsty, it will be the perfect temperature and no sadness. We don’t have to worry about What If.


Regardless of which place we live; it comes down to perspective. Which place are you going to live, the land of “What If or the land of “What Is”?


Painting the Interior of Your Home – Part 3

The Final Step in Achieving Your Desired Outcome

Two weeks ago, we discussed the process of determining which paint is best for your project and choosing the colors. Last week I told you about the different tools and equipment you will need. Now, give me a roller, I’m ready to put some paint on the walls.

Not so fast. Using these steps and simple tips will make for less mess, a more productive use of your time and a finished project that will rival the professionals.

Start at the beginning.

Preparing the room before you open the first can of paint will pay dividends in the end. This is my recommended order, but these steps can vary for your particular situation or preference.

1 – Remove ceiling fan blade and/or light fixture globes. Cover the fixture base with masking tape and plastic.

2 – Remove furniture from the room if possible or move it to the center of the room if not. The less you have to work around the easier it will make the job. If you leave furniture in the room cover the floor where the furniture will go, set the furniture on the covering, then cover the furniture.

3 – Remove area rugs, window treatments, wall hangings (including nails and/or screws) and switch and receptacle cover plates, anything that you can, that you don’t want painted or broken.

4 – Cover floor with drop cloths, plastic or a combination depending on your preference. Drop cloths are a less slick surface and are designed to be reused. Plastic is slicker to walk on and moves around more but can be thrown away when you’re finished.

5 – Check walls for damaged areas or nail holes that need to be repaired or filled. Fill larger repairs with light weight spackle or drywall compound. Fill nail and screw holes that won’t be reused with light weight spackle or caulking. Make sure repairs are smooth and ready for paint by sanding if needed.

6 – If the window and door casing and/or the base board are going to be painted then caulk gaps between the trim and the wall. If it’s not going to be painted…

7 – Tape off window and door trim and base board with masking tape and plastic unless you’re really good with a paint brush.

8 – Clean the walls. The best way to do this depends on the finished texture of the wall. If it’s smooth, it can be wiped down with a damp cloth. If it’s textured start with a shop vac using a brush attachment and then wipe down with a damp cloth. If it has been painted prior, then clean the walls with soap or a mild cleaner and water. Make sure it’s dry before applying primer or paint.

Start at the top and work your way down. Gravity works on drips, splatters and runs just like everything else. Not to say that Paint can’t fly up off a roller, etc., but the odds are in your favor when you begin with the ceiling. The directions included here are based on painting both walls and ceiling. Just like preparing the room, this is the order I recommend.

1 – Start by cutting in the ceiling. Paint a 2”-3” strip from the wall and around fixtures on the ceiling. This allows you to get the roller close (if you’re really careful) without getting paint on the walls. The brush and roller leave the paint with a different pattern. This is why it is better to cut in with the brush first and then to roll as close to the edge as possible for a more uniform finish.

2 – Using a roller and extension pole, start at a wall on the short side of the room. Roll long strokes, maintaining a wet edge. If you’re painting unpainted drywall, I recommend using a primer. The primer provides adhesion to the surface. After the primer has dried then apply the paint. Typically, ceilings are painted with a low sheen flat finish.

3 – After the ceiling is finished next come the walls. Some people prefer to start with the millwork, and some would rather do it last. It’s up to you which you prefer. Either way when painting the walls cutting in is next thing. Start by painting a 2”-3” strip on the wall from the ceiling. Next paint a 2”-3” strip both ways in wall corners unless two connecting walls are going to be different colors. Paint a 2”-3” wide strip around all window and door casing, baseboard and any other fixed object.

4 – Using a roller and extension pole, start at a corner of the room. Working away from the corner roll long strokes, maintaining a wet edge. Just like the ceiling, if you’re painting unpainted drywall use a primer. After the primer has dried then apply the paint. I recommend putting on two coats for better coverage and durability.

5 – Once the paint has dried remove the tape and plastic. Be careful when pulling the tape that you pull away from the finished surface. This will give a cleaner finished paint line. Like with painting if you start at the top and work your way down it will make clean up easier. Pull the plastic from the corners of the room rolling it into itself, keeping the majority of the mess inside, then throw it away.

6 – Now it’s time to move things back into the room and enjoy the fresh new look. Be careful with the fresh paint for a few days, it is softer and more easily damaged until it has finished curing.

Tips and technics:

• Hold the brush close to the bristles, it gives you more control.

• Only dip ¼ to ½ of the bristles (approximately 1”-2”) into the paint. Anymore is unnecessary, it’s messier, wasteful and harder to clean up.

• To minimize drips, tap or lightly wipe one side of the bristles on the top edge of the can.

• Put holes in the bottom of the groove around the top edge of the paint can where the lid sets down in using a small punch or a nail. This allows the paint that gets caught in the groove to escape back into the can when putting the lid back on.

• When cutting in with a brush start at a corner and work away from it initially. Then reverse your direction by starting the next stroke away from the corner and working back over the previously applied paint. Continue this process with each new dipping of the brush.

• To get the cleanest paint line use a tapered brush and parallel the width of the brush with the corner. Begin with the bristles a little way from the corner and then as you move the brush parallel with the corner gradually move closer to the corner.

• When rolling paint on large flat surfaces, i.e. walls and ceilings, start in a corner. As you apply more paint move to just past the previously painted area and while rolling back and forth work back over the previously painted area. Continue this process as you work across the surface being painted. This helps prevent having thin spots and paint lines.

• Roll the paint from top to bottom on a wall, especially with higher sheen finishes. When only rolling a top or bottom portion of a wall there is a risk of there being an area of heavier coverage in the middle and often this will be visible and create a horizontal paint line on the middle of the wall.
Painting is one of the things that many times people do themselves to save money. Really, how hard can it be to just roll some paint on a wall?
As you can see in in this “How to Paint the Interior of Your Home” series of posts…there’s more to doing a painting project “well” than it appears. Before you start painting you need to consider the amount of time and effort you will spend. Even though the price for hiring a professional seems expensive, you need to determine what your time is worth. Because, it will take longer than you think.

Sherwin-Williams has a great web site for more details on How to Paint Your Home’s Interior.

If you have any paint stories or questions that you would like to share post them in the comments section below.

The Real Answers Are in the Believing


Put Me Down as A Believer


The small son of a pastor was out playing in the yard before coming in to join the family at the supper table. His mother, as usual, told him to go wash his hands. As the little boy headed to the sink he said, “Jesus and germs, that’s all I ever hear around here and I haven’t ever seen either one.”
Seeing is believing.


This Sunday’s Scripture, John 20:19-29 is the story about “doubting Thomas”. Most of us have heard the story of Jesus appearing to a group of His followers when Thomas wasn’t there. Then a few days later Jesus came a second time and showed Thomas the evidence of the nails in His hands and the spear in His side. This caused Thomas to believe. Jesus said, “You believed because you see me. Those who believe without seeing me will be truly blessed.”


How do we believe without seeing?


Believing without seeing is hard. We want to have all the answers. Clarity makes life so much easier.


When the brilliant ethicist John Kavanaugh went to work for three months at “the house of the dying” in Calcutta, he was seeking a clear answer as to how best to spend the rest of his life. On the first morning there he met Mother Teresa. She asked, “And what can I do for you?” Kavanaugh asked her to pray for him.


“What do you want me to pray for?” she asked. He voiced the request that he had borne thousands of miles from the United States: “Pray that I have clarity.”


She said firmly, “No, I will not do that.” When he asked her why, she said, “Clarity is the last thing you are clinging to and must let go of.” When Kavanaugh commented that she always seemed to have the clarity he longed for, she laughed and said, “I have never had clarity; what I have always had is trust. So, I will pray that you trust God.”


Mother Teresa’s Prayer for The Clinger 


I struggle with looking for clarity. I want to know the answers. As a ‘problem solver’ by nature finding the answers is what I do. Seeking answers is not the problem. The problem is getting hung up on seeking them.


We don’t and never will in this life, have all the answers.


If we can’t have the answers why even bother looking. Wouldn’t it be easier to just float through life not bothering to even look for the answers? I don’t think this is God’s plan for us either. It’s about having faith and trusting in God. In Matthew 17:14-20 Jesus tells His followers that if their “…faith is big as a mustard seed, you can say to this mountain, ‘Move from here to there,’ and it will move”.


We don’t need to have all the answers, just believe as big as a mustard seed.

Painting the Interior of Your Home – Part 2

The Next Step to Achieving the Outcome You Desire

Just like a painting project takes longer than initially expected, so did the explanation of it. What I thought would be a short post turned into two and now looks to be three. Next week we’ll see if we’re able to accomplish this.

Last week I told you to start with determining the right paint depending on what the rooms use was. Next was picking your colors which is one of the most important things to the outcome. What, in the beginning, would seem to be easy, often turns into one of the most difficult.

Figuring out what tools you need, is the next step. Painting is like any other project, having the right tools will make the project go smoother, easier and make for a better outcome. Even with basic tools like brushes and rollers there is an amazing amount of variety and options. Then of course there is too many specialty tools to go into.

Brushes:

  • Natural bristle (sometimes called China bristle) for oil-based finishes. These bristles are made from animal hair. The natural split ends of these bristles hold more paint and allow a nice smooth finish
  • Blended nylon/polyester bristle for latex paints. The combination of these bristles provides a durable long-lasting brush. The polyester is great at holding its shape and the nylon holds up well.
  • Polyester bristles work well in latex paints but aren’t as durable as the combination bristles. They provide a smoother application of paint than the combination.
  • Sizes typically range in width from 1” to 4”. Depending on what you are doing will determine which width provides the best result. Smaller brushes work best for trim and small areas. The bigger brushes provide more coverage on large flat areas.
  • Styles or bristle ends also serve different specific purposes. An angled brush works best for cutting in around windows, doors, etc. or in corners. The angled cut gives you more control over the paint line. Flat brushes work best when the goal is to get paint on larger flat surfaces.

Rollers:

  • Fabrics used for roller covers are similar to brushes in that some are natural, and some are synthetic. The synthetic is the most common and is ideal for latex paints. The natural covers are made of mohair or wool. These work best with oil-based paints. Blended covers provide the best of both worlds. They have the product pick up of wool and the longevity of nylon.
  • Pile depths of roller covers vary from short (almost smooth) to long (3/4” -1”). The short nap is for smooth surfaces. The rougher the surface the longer the nap needed.

Misc. tools and sundries:

  • Drop cloths or plastic for covering finished floors or furniture that will remain in the room.
  • Tape and plastic or painter paper for covering windows, doors, floor perimeters, trim, electric fixtures, hardware, etc. Most of us are aware of the blue painters masking tape. It was designed to be used on painted surfaces and not pull the paint loose when it was removed. Now there is green (multi-surface) and yellow (delicate) tape as well.  
  • Caulking, spackling, drywall mud for filling cracks, nail holes and repairing damaged areas. Caulking works best when filling joints and cracks where two different materials come together, for example wood trim and drywall. It allows for expansion when the two things expand and contract at different rates. Spackling is light weight and faster drying than sheetrock mud and works great for filling nail holes and small repairs. Drywall compound dries slower and depending on the size of repair will most likely shrink and need multiple coats but is more durable than spackling.
  • Ladders, stools and planks are needed to cut in the corner where the ceiling and wall meet, the tops of windows and doors or ceiling fixtures. Once the cut in is complete then everything in a typical room can be reached with a roller pole. Some rooms with high vaulted ceiling may require scaffolding.
  • Roller handles, poles, pans, liners and screens are all parts of the paint rolling process. Many times, people don’t distinguish the difference of these things. The roller handle is what the roller cover slides onto. The pole is what the handle screws onto and often is adjustable in length. The pan is what paint is poured into for the roller to pick up the paint from. There are pan liners that fit in the pans which can make the clean up process easier. There are also screens of different sizes that fit into different sized buckets. You can then dip the roller directly into the bucket of paint and remove the need for a pan.

Now we’ve determined the right paint, picked the colors we want and figured out what tools we need. After all of that, it’s time to get started painting.

Next week we will discuss the process of preparing the room and putting some paint on the walls.

If you have any questions or thoughts about what we’ve discussed so far, just send them to us in the comment section below.

When We’re Being Sought, Why Do We Hide?

Hide and Seek Shouldn’t Be Played in the Game of Life

A man was having computer issues when working on a Saturday. He didn’t want to bother the IT tech at home, but after continued issues, decided to call him. The phone was answered by the tech’s young son with a whispered, “Hello.”. The man asked if he could speak with the boy’s father. He whispered, “No.”. “What about your mother, can I speak with her?” Again, at a whisper he answered, “No.”. In the background the man could hear people yelling the boy’s name and what sounded like sirens and…a helicopter. The man asked the boy what the commotion was, he answered, once again in a whisper…

They’re looking for me.

After Jesus’ crucifixion His followers were lost. Last week we discussed the empty tomb and the disbelief that accompanied it. In Luke Chapter 24 Verses 13-35, the story continues with two of Jesus’ followers walking to the town of Emmaus. As they walked, they were joined by Jesus but didn’t recognize Him. They were enjoying their time with Him so much, they asked Him to join them for supper. When Jesus gave thanks and broke the bread, they recognized Him, and He disappeared. They immediately went back to Jerusalem and told the other followers.

After we’re found by Jesus, we need to tell others.

It’s hard to imagine what it would be like to be confronted by someone who we thought to be dead.

There is a story of two brothers who fought in the Civil War. Both were told that the other was killed in action. After the war they went separate ways. One back home and the other to a new life. More than forty years later at a Civil War reunion they came face to face. They weren’t hiding from each other; they just were unaware. This was a big loss due to not seeking.

Too often, people go through life unaware that our brother, Jesus, is alive.

Jesus came searching for us when He came to earth 2000 years ago and continues to look for us today. Being found in this game of hide and seek is how we win.

Painting the Interior of Your Home

How to Achieve the Outcome You Desire

Whether you’re repainting a room, painting the interior of an addition or the whole house interior for the first time, painting is a transformational experience. The question is what kind of transformation are you after?

Painting can turn the dull into the exciting.

It can also turn expectations into disaster. In this week’s solution I will give you some insight from my forty years of experience to help prevent that from happening.

Where to begin. There’s a lot of work that needs to be done before you ever start doing any physical work. Before you pick up a brush or roller you need to:

Determine the right paint. This should be determined by what the room will be used for. Is it a kitchen or a bathroom where it is likely to be splashed and splattered? Is it a kid’s room where it will have little messy hands coloring pictures on it? Is it a family/living area where most of the activities won’t involve the walls beyond their appearance? Another thing to consider is the quality of the paint. Better-quality paints have more pigment and cover better, wear better and last longer.

  • Latex (water base) – Dries quickly, easy clean up with water, works great on drywall.
  • Oil / Alkyd – Slower drying, more durable, requires mineral spirts for clean up, great for wood trim and areas that need more cleaning.
  • Sheen – This is the amount of reflectivity or shininess of the finish. Not that many years back you had choices of flat, satin, semi-gloss and gloss. Now depending on the manufacturer there are a lot more including pearl, matte, egg-shell, low luster, medium luster, etc.

Pick your colors. This requires an increased awareness to your surroundings. What colors you like, or don’t like? You may not even know why and that’s okay. What matters is how it makes you feel. Look at the interiors of buildings and homes, where ever you go. Look online at similar spaces to the one you’re going to be painting. Sherwin-Williams has an online service that will allow you to experiment with colors on your project before you ever put any paint on the wall.

Get sample cards and see how they look in the room. Every room has its own natural and artificial light. The color will also be affected by colors of things in the area. After narrowing the choices to a few, get small quantities of samples and paint them on the wall to see how they look. At this point the colors can be altered some to get the right color.

You also need to consider the other people who will be sharing this space. They may not like the colors you do. This may not matter to anyone but you, but if it’s important to the others their input needs to be included in making the final decision.

After determining the right paint to use and picking your colors, you’ve completed the first step of your interior paint project. Next week we’ll discuss the tools you need to complete your exciting painting project.

Being Careful to Not Get Stuck in a Rut

The Importance of Changing and Growing

There’s a saying, “A rut is a grave with both ends kicked out.”. Too often we get in a rut and don’t even realize where we are. We are plodding back and forth doing whatever it is, never looking up to see where we are or where we’re going. If we’re not careful the rut will get so deep that we’ll never get out.

On the other hand, changing things just for the sake of change, isn’t a good strategy either. Growing and changing is good if there is a plan. Starting out on a trip without a destination and a map usually doesn’t end well.  

Change can be scary; it might not work. We know our rut well and we like it. Doing it because “We’ve always done it this way.” Isn’t a very good plan for improvement. This kind of rut thinking doesn’t allow for growth and change.

Change costs time, effort and money…the question is, is the change worth it?

Things that need changed and are ignored have consequences, i.e. diapers, your car’s engine oil, furnace filters, tooth brushes and bad habits.

Change is a natural extension of growth. As our services have grown from construction at Timber Creek Construction to coaching and consulting at Solution Building there have been a lot of changes. Changing allows us to do what we do better. Early in the growth process things naturally do more changing.

An example of this kind of change is the recent changing of our Solution Building tag line and logo. We originally started out with “A Foundation for Business & Life”. This was beneath the logo which included an image of a block foundation holding up the words Solution Building. This isn’t something that was thrown together quickly. I had given it a lot of thought and was sure it was the right choice.

After being confronted three different times by people thinking we laid block foundations I decided we needed to make some changes.

After going back to the proverbial drawing board, we changed the tag line to “Helping you find solutions for building your dreams”. The logo changed from the block foundation to a detective’s magnifying glass. This seems to better explain what we do…not to mention I’m NOT getting asked to lay concrete blocks.

It’s important that your message is clear.

Another change that we are going to be implementing next week is the changing of our weekly solution schedule. Since we added the mid-week Sunday School (email) post we’ve noticed that it consistently gets more opens. This caused me to ask the why question. We have concluded that people would rather not spend their weekends reading posts (no matter how good they are 😉).

So, rather than staying stuck in the rut of Saturday and Wednesday posts, we’re going to make some schedule changes. We are going to move the Saturday post to Monday and the Wednesday post to Thursday. I’m anxious to see if this change will help the open rate grow. If not, we can always change again.

One thing that helps us serve better is feedback. Please give us any thoughts you have about day of the week preferences, construction topics or business questions in the comment section below.

We Are in The Land of The Dying

On Our Way to The Land of The Living

Sunday was Easter, the ultimate victory story! In Luke 24:1-12 the women go to Jesus’ tomb and find the stone rolled back and no Jesus. They are worried and afraid. Then there were two men in shining clothes standing beside them. The men asked, “Why are you looking for a living person in this place for the dead? He is not here; he has risen from the dead.” The women remembered what Jesus had said and went away celebrating and shouting the resurrection message.

When the apostles heard their story, they didn’t believe them. Peter went to the tomb and found Jesus’ burial clothes and no body. He went away doubtful and concerned. He assumed the Romans had come and taken Jesus’ body. Jesus’ followers had been through some dark days, but Peter was ignoring the light that the women saw.

Darkness is overcome by the light; in the midst of our deepest darkness the SON will rise!

We can choose to be like Peter or the women. They both saw the same empty tomb. Peter went away discouraged and the women went away shouting and celebrating that first Easter morning.

The tomb is not a dark alley, but a thoroughfare to Christ.

Pastor Lee told a story about a soldier who lost his legs and was recovering in a hospital. As you can imagine he was depressed about his situation. He could see no reason to even be alive. What good would he be without legs.

After days of lying there wallowing in self-pity another patient came in, sat down and started playing a harmonica. He played for a while and then got up and left. This went on for several days, never saying anything, just playing the harmonica. Then one day he came in playing the harmonica and attempting tap dance. When he was finished the harmonica playing tap dancer told the soldier to smile and live. The soldier replied that this was easy for him to say that. He was walking and dancing. Then the harmonica player lifted his pant legs to reveal two artificial limbs. He said again, smile and live, it is the only way to thank Him for being alive.


The young soldier’s resurrection began that moment.

Just like the soldier and the harmonica player, we need to remember that there is nothing that we have gone through or ever will go through that Jesus hasn’t already been there and done that.

We need to smile, live and say THANK YOU!

How to Solve A Difficult Building Problem?

With Out of The Box Solutions, That’s How

I have been presented with another building project puzzle. What do you know, it’s from another family member and reminiscent of last week’s post. Do you think they have it in for me…or maybe they just know that I’m good at finding solutions? In reality every construction project deals with these or similar questions.

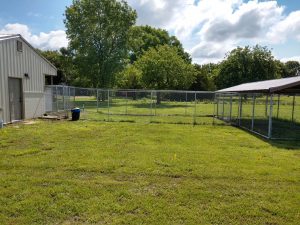
My sister Ann owns and operates Prairie Paws Lodging, a pet retreat. Her service is in such demand that she has been considering expanding. Timber Creek Construction built her existing building three years ago and we’ve been discussing options for expansion over the last year. After some consideration we’ve decided to build separate private pet cottages rather than adding on to the existing building.

Prairie Paws Lodging

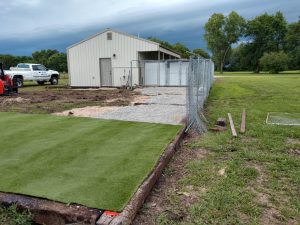
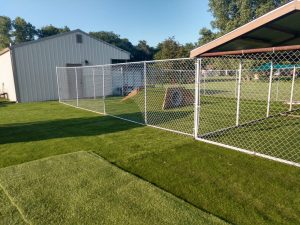
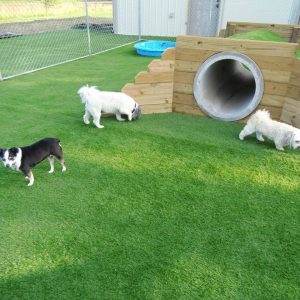
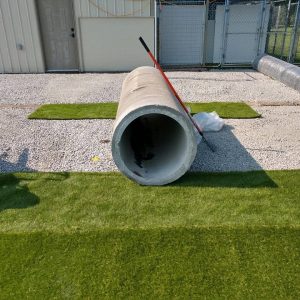
A few days ago, she called and asked if I could have one of these cottages built and ready in three weeks. After a gasp, I said, let me give it some thought. At this point we haven’t determined a floor plan, dimensions, materials, construction method, etc. (Why would I agree to even consider this when I’m already so busy? Because I love finding solutions and helping people with their dreams, that’s why.) It’s not like we weren’t already working on plans to enlarge the outdoor run and converting it to a dog playground. (More on this in a future post.)

Since we talked, this project and its questions have been bouncing around in my head.

The main questions that need answered?

  • What is the floor plan/design going to be?
  • What is the size/dimensions?
  • What building materials? (it needs to be water & dog urine resistant)
  • Price, what’s it going to cost?
  • How is it going to be heated and cooled (a requirement by the state)
  • Where will it be located, in relation to the rest of the facility? Will this have any bearing on the construction, size, etc.?

I called Ann and asked her to send me pictures, links to websites or any other ideas that she had. I got on line and began researching different building materials that would serve our needs. And the solution building process began.

What is the floor plan/design going to be?

  • We started with a couple of design ideas that she found on web sites. This gave me a good visual idea of what she wants. The first was Dog Kennels built by Lone Star Structures. The second was EZ-Fit Dog Kennel from Pinecraft. Both of these structures are nice looking and would work great in someone’s back yard for their own pet. Not so much in an application where different dogs will be using them, and a clean environment is important. Both have exposed wood framing and would not work well for regular cleaning. Beyond that the basic design is what we’re after.

What is the size/dimensions?

  • These two buildings varied in their dimensions. Ann and I discussed what she needed and what size would fill those needs best. She wants these cottages to be larger than the size of her existing pens. After some discussion we decided on an 8’ x 6’ enclosed portion and an 8’ x 8’ open covered area. This was determined by a combination of things; sized to meet minimum needs and be most functional, material dimensions (least amount of waste), price (bigger costs more), appearance (needs to be well constructed and look nice).

What building materials?

  • This is where things begin to get more difficult, because there are a lot of options. We know wood isn’t the best choice for wet conditions. What are the options other than wood? What can we do to protect wood if it is used? One thing we are looking at is a polypropylene slat flooring made by Double L Group. We are settling on a combination of products to keep construction from becoming complicated, meet the budget and provide the look we’re after. We’ll go into more detail in a later post.

Price, what’s it going to cost?

  • This is always a question, as it should be. The real question that should be asked, what’s it worth? Is this expense going to generate enough revenue to be justified? If it’s more than my budget, where can we reduce the cost? We’re early enough in the process that we don’t have this question fully answered yet, but we will keep thinking outside the box to get to the budget number.

How is it going to be heated and cooled?

  • HVAC is typically an expensive part of construction projects. In this case though, we are dealing with a small space, less than 400 cubic feet. They make some inexpensive single room units that look like a window AC and can be mounted in a window or through the wall. In this project the through the wall application would probably be the best option. It would let us mount it higher which would get it further from the dogs.

Where will the building be located, in relation to the rest of the facility? Will this have any bearing on the construction, size, etc.?

  • At this point we have a pretty good idea of where it will be located. For this to be determined we will need to consider how the new building will connect with the existing pens as well as new ones? What will the daily routine be when it’s being used? If more cottages are built in the future where would they go?

This is a lot to be considered for such a small project, but for the most part the considerations are the same regardless of the size. The fact that it’s small and what it’s going to be used for, does create some special considerations.

The one thing that we haven’t discussed yet, and maybe the most important, is if I have the time needed to do this project. This question can’t be answered by anyone but me. This question is one of the hardest questions that people in the construction business ever answer. Most of the people in this business that I know want to help people build their dreams. (This is a topic for another post.)

I will finish compiling figures, working on design specifics, determining the best options for material and if I have time to get the project completed on schedule over the next few days. If we’re going to be able to do this the questions need to be answered by the first of next week.

Keep watching for project updates in future posts.